· 2 min read
How To - Personal Event Calendar
Email the Sessions Registered in Customer Insights - Journeys

When organizing events with multiple sessions, you want to ensure that registrants can create their own agendas. I have already written a post on how to set up the event, but now I will look into communicating to registrants about their agendas. You can also check out the video at the bottom of this page.
So, we know how to set up a reminder journey for registrants; now let’s take a look at how to add a personal agenda to these emails, so you can increase engagement and lower your no-show rate.
Step 0 - Prepare Your Email Content
Set up your confirmation and reminder messages as usual. These can be emails, text messages, or push notifications.
Step 1 - Let’s Create a List
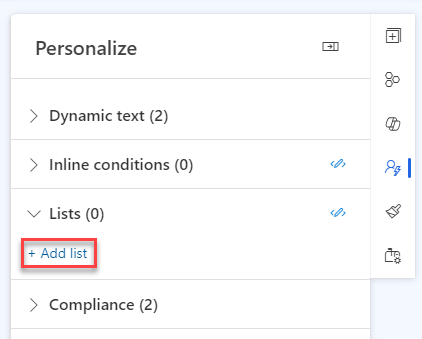
In the email, go to personalize and add a new list.
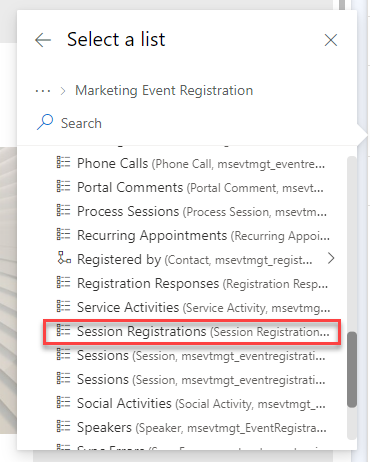
Set the list entity to session registrations from the event registration entity.
We want to sort them by start time of the session, so the sessions are in chronological order. However, we can only select fields from the session registration entity, which does not include the session start time. So, there are two solutions to this problem:
- Create a field start time on the session registration entity and fill this with a Cloud Flow
- There already is a N:N relation between sessions and event registrations, so use a Cloud Flow to create records based on the registered sessions
In both scenarios we use a different setup of the list, as you can see in the example below.
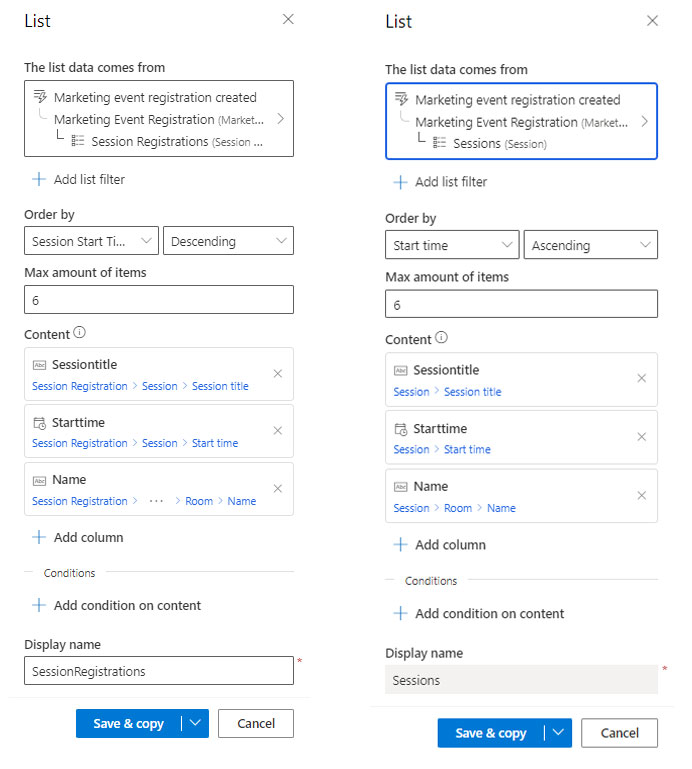
| Step | Session Registrations | Sessions |
|---|---|---|
| List entity | Session registrations from event registration entity | Sessions from event registration entity |
| Order by | Session start time (name of the field you created) | Start time |
| Columns | Use the advanced options to select the fields from the session entity | Select the needed fields from the session entity |
Step 2 - Paste the Code
After you’ve created the list, you can copy the code and paste it in your email. You can adjust the order of the fields and add extra text to provide a good reading sentence.
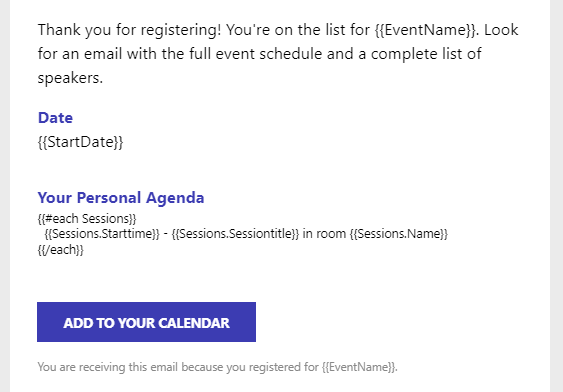
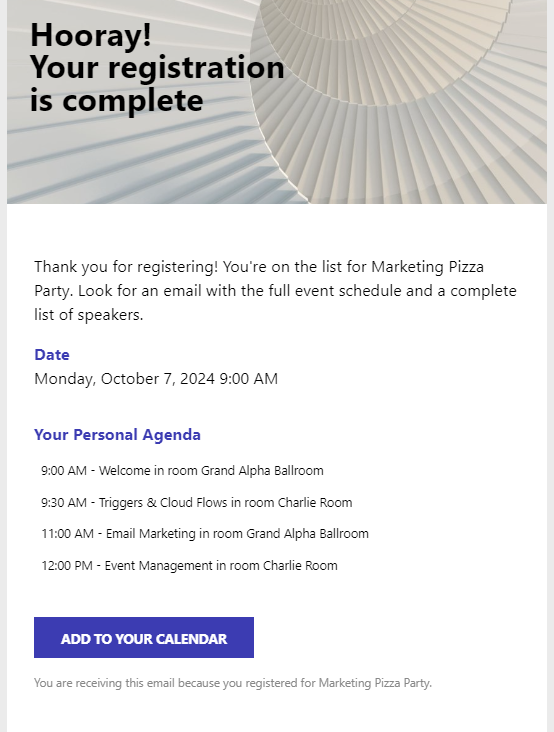
Results
This is what the email looks like: