· 3 min read
How To - Event Reminder Journey
Remind registrants of your event in Customer Insights - Journeys
When organizing events, you want to create not only a confirmation journey but also a reminder journey. In Customer Insights - Journeys, you can combine these journeys into one. However, it’s essential to ensure that the right people receive the right messages, because a good reminder process can decrease your no-show rate. Let’s dive into this.
In this “How-to” post, I will show you step-by-step how to create your reminder journey. You can also check out the video at the bottom of this page. In this example, we have a confirmation message and three reminders leading up to the event. Here’s our sending timeline:
- Reminder one week before the event
- Reminder one day before the event
- Reminder on morning of the event
Step 0 - Prepare Your Email Content
Set up your confirmation and reminder messages as usual. These can be emails, text messages, or push notifications.
Step 1 - Set Up Your Journey
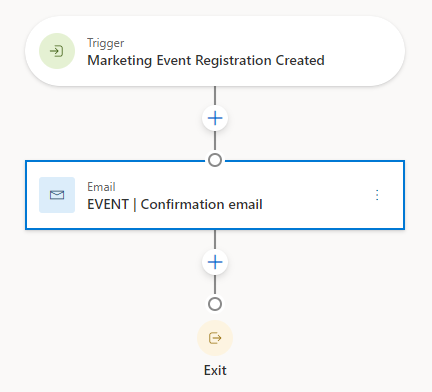
Create a Journey with the Marketing Event Registration Created trigger. You can make this Journey dynamic (for all your events) or specific to one event. Add your confirmation message directly after the trigger.
Step 2 - First Reminder - One Week Before Event
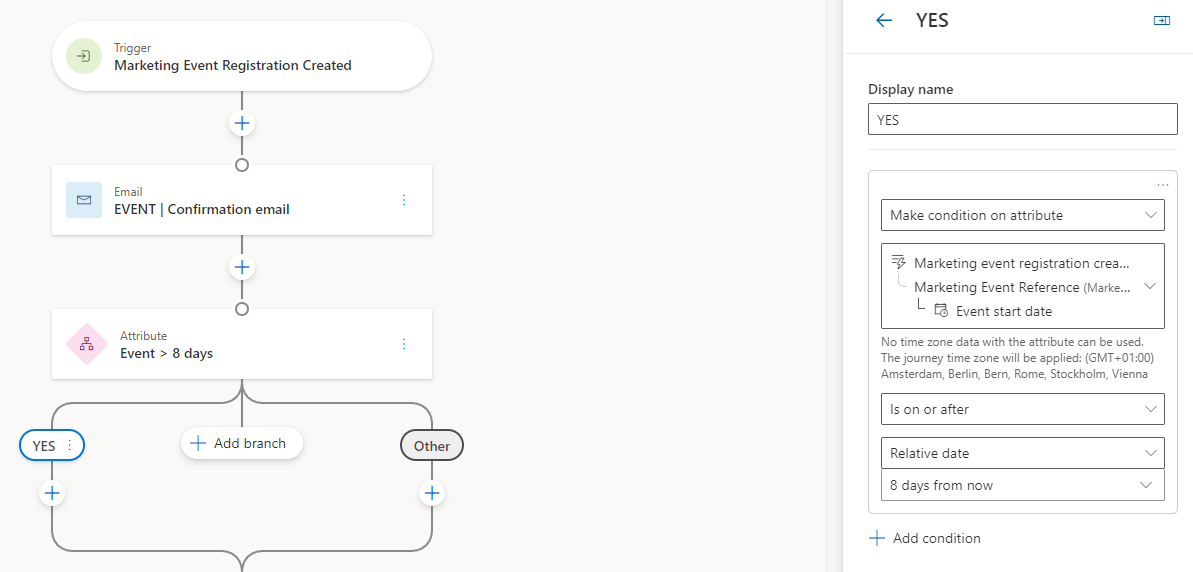
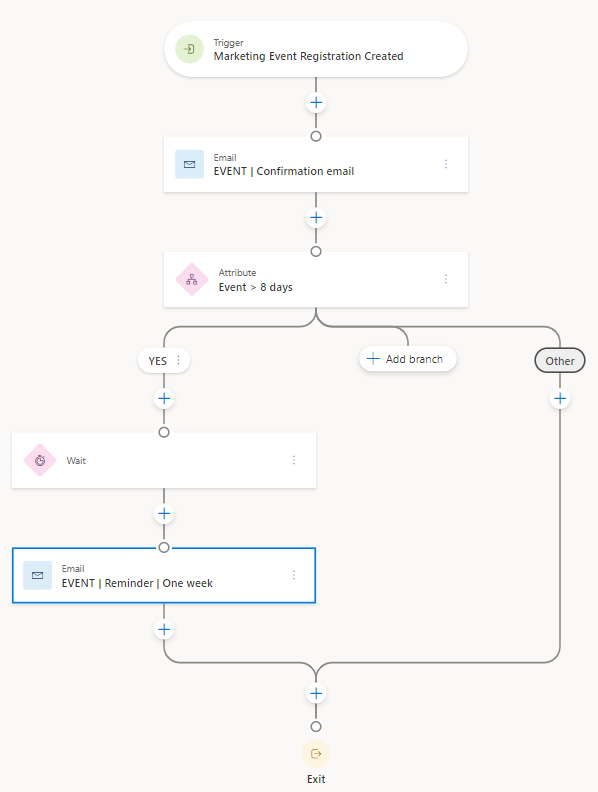
The first reminder message will go out one week before the event. However, if someone registers two days before the event, we want to ensure that this registrant skips the one-week-before reminder. To do this, start with an Attribute Branch called Event > 8 days. In the first branch, declare the following statement: Event start date is on or after 8 days from now. This means that the event date is at least 8 days away from today (registration day).
Next, place a Wait tile with the statement: 7 days before Event Start Date.
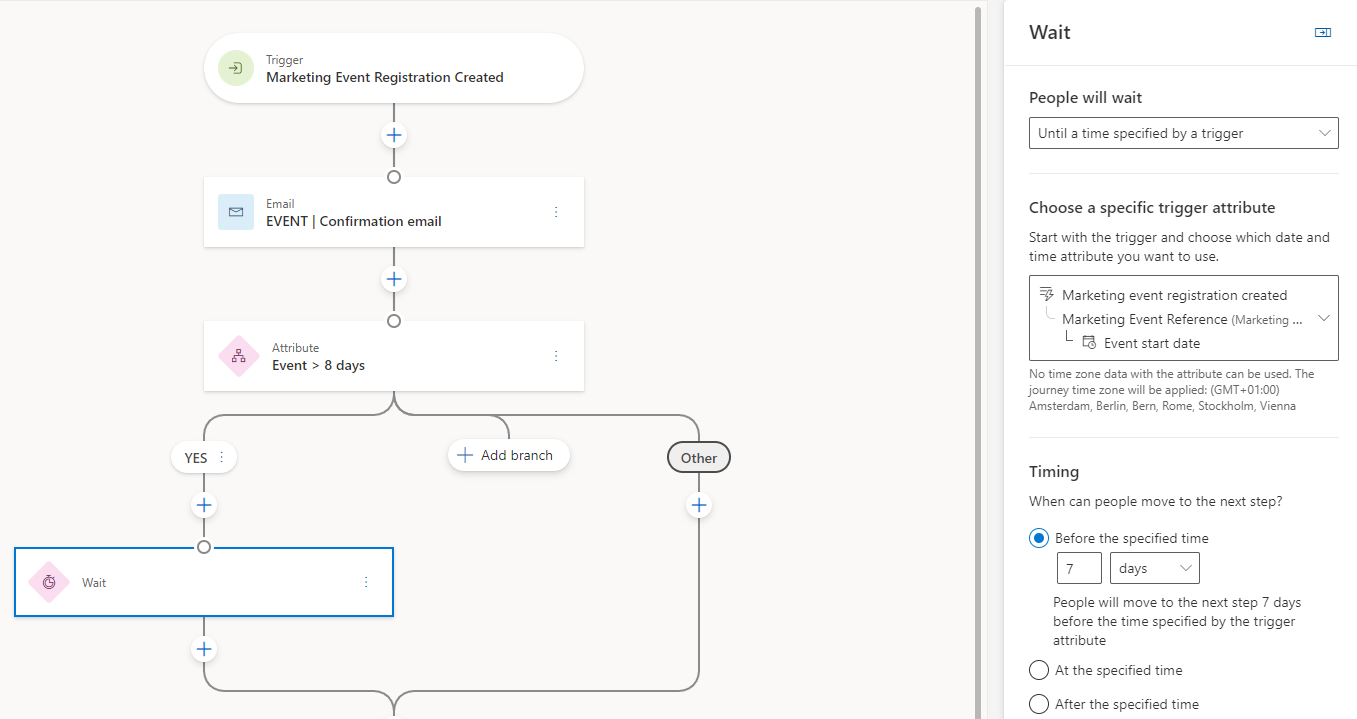
Then, add the reminder message. Your Journey should look like this:
Step 3 - Create Follow-Up Reminders
Repeat Step 2 for each additional reminder you want to include in your reminder journey. Just add the step right before the Exit icon using the + icon.
Step 4 - Remove Cancellations
If registrants cancel their registration, remove them from this Journey. Do this by creating an exit criterion with the Marketing Event Registration Canceled trigger.

Results
This is what the complete journey will look like:
Next Steps
Now you know how to build your own event reminder journey. There are many additional action you can incorporate in this journey, such as:
- Add a Goal —> use the Marketing Event Check-In trigger
- Use A/B test —> within the same channel
- Use A/B test —> across channels
- Create Tasks for salespeople —> after the registration is created