· 2 min read
How To - Dynamic Add to Calendar link
Using an Add to Calendar Link in Customer Insights - Journeys
Organizing multiple events per year can be quite challenging, especially when setting up different journeys, emails, and segments. However, you can reuse some content and make it dynamic. In this “How-to” post, I will show you step-by-step how to make your confirmation email with an Add-to-Calendar link dynamic. You can also check out the video at the bottom of this page.
This Add-to-Calendar link is easy to add, but can make a big improvement on your no-show rate. No time to waste!
Step 0 - Prepare Your Calendar Content
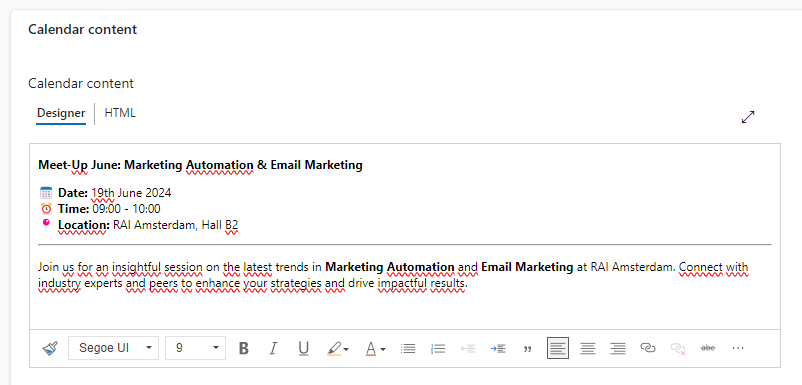
It is convenient for registrants to add the calendar item to their calendar, but it holds little value if it’s empty. To enhance your Calendar Item, go to the Additional Information tab on your event and scroll down. Here, you can add all extra details about your event. If you have selected a Building on your Event as well, make sure to add the address details, because they are shown in the location of the Calendar Item as well.
Step 1 - Set Up Your Confirmation Email
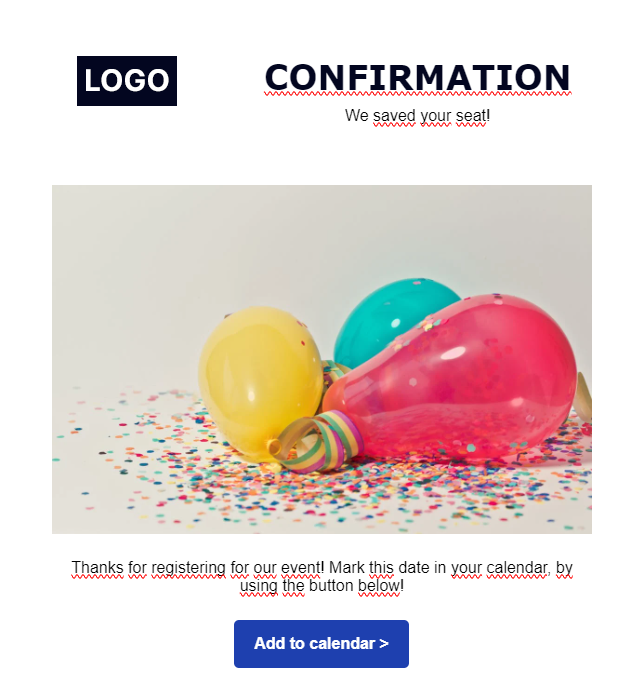
Set up your confirmation email as usual. Make sure to include a button or, less preferably, a text link.
Step 2 - Create an “Add to Calendar” Link
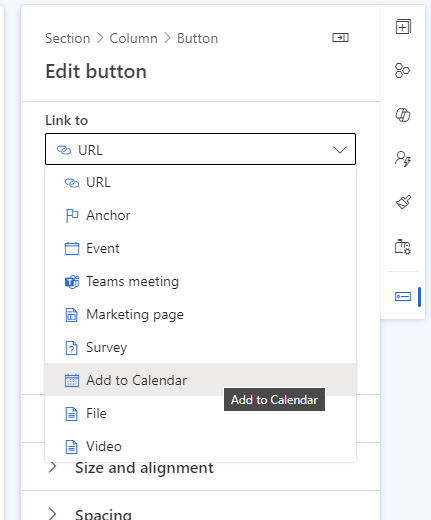
Ensure the URL type is an “Add to Calendar” link.
Step 3 - Make the Link Dynamic
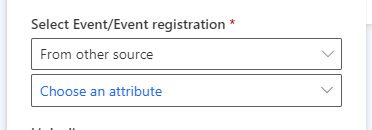
Set the field ‘Select Event/Event registration’ to From other source.
Step 4 - Select the Correct Attribute
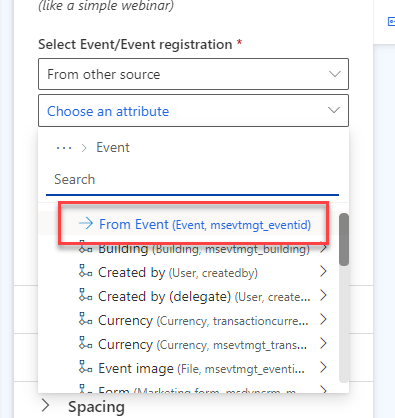
Use the ‘Event’ from the Trigger ‘Marketing Event Registration Created’ by using the Marketing Event Registration entity.
Step 5 - Use It in a Journey
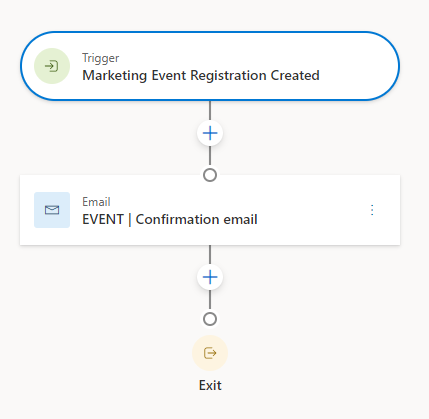
The final step is to create the Journey by using the Marketing Event Registration Created trigger and specifying your event.
Results
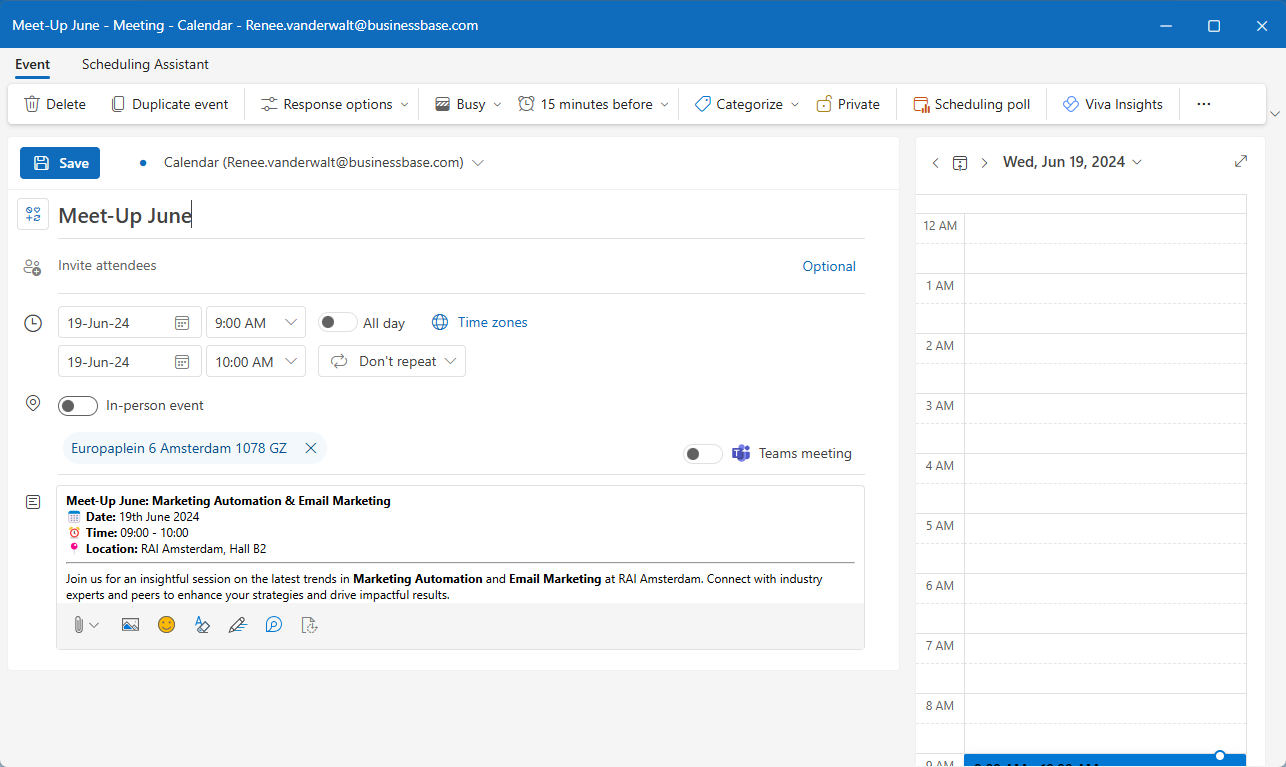
And here you can see the results in your registrants’ calendar!
Next Steps
Now you know how to build your own dynamic Add-to-Calendar link. There are many other options you can make dynamic in this email, such as:
- Event name
- Event dates
- Event location
- Event speakers