When working in higher education, organizing various types of events is quite common. For example, you might have an Open Day with multiple sessions where attendees can create their own agenda. Another scenario is a multi-day workshop, where attendees participate in all sessions. How about this scenario: organizing multiple Experience Days, information sessions, personal visits, etc., where you have a multi-day event, but attendees attend only one day?
Let’s dive into this last use case!
Use Case Description
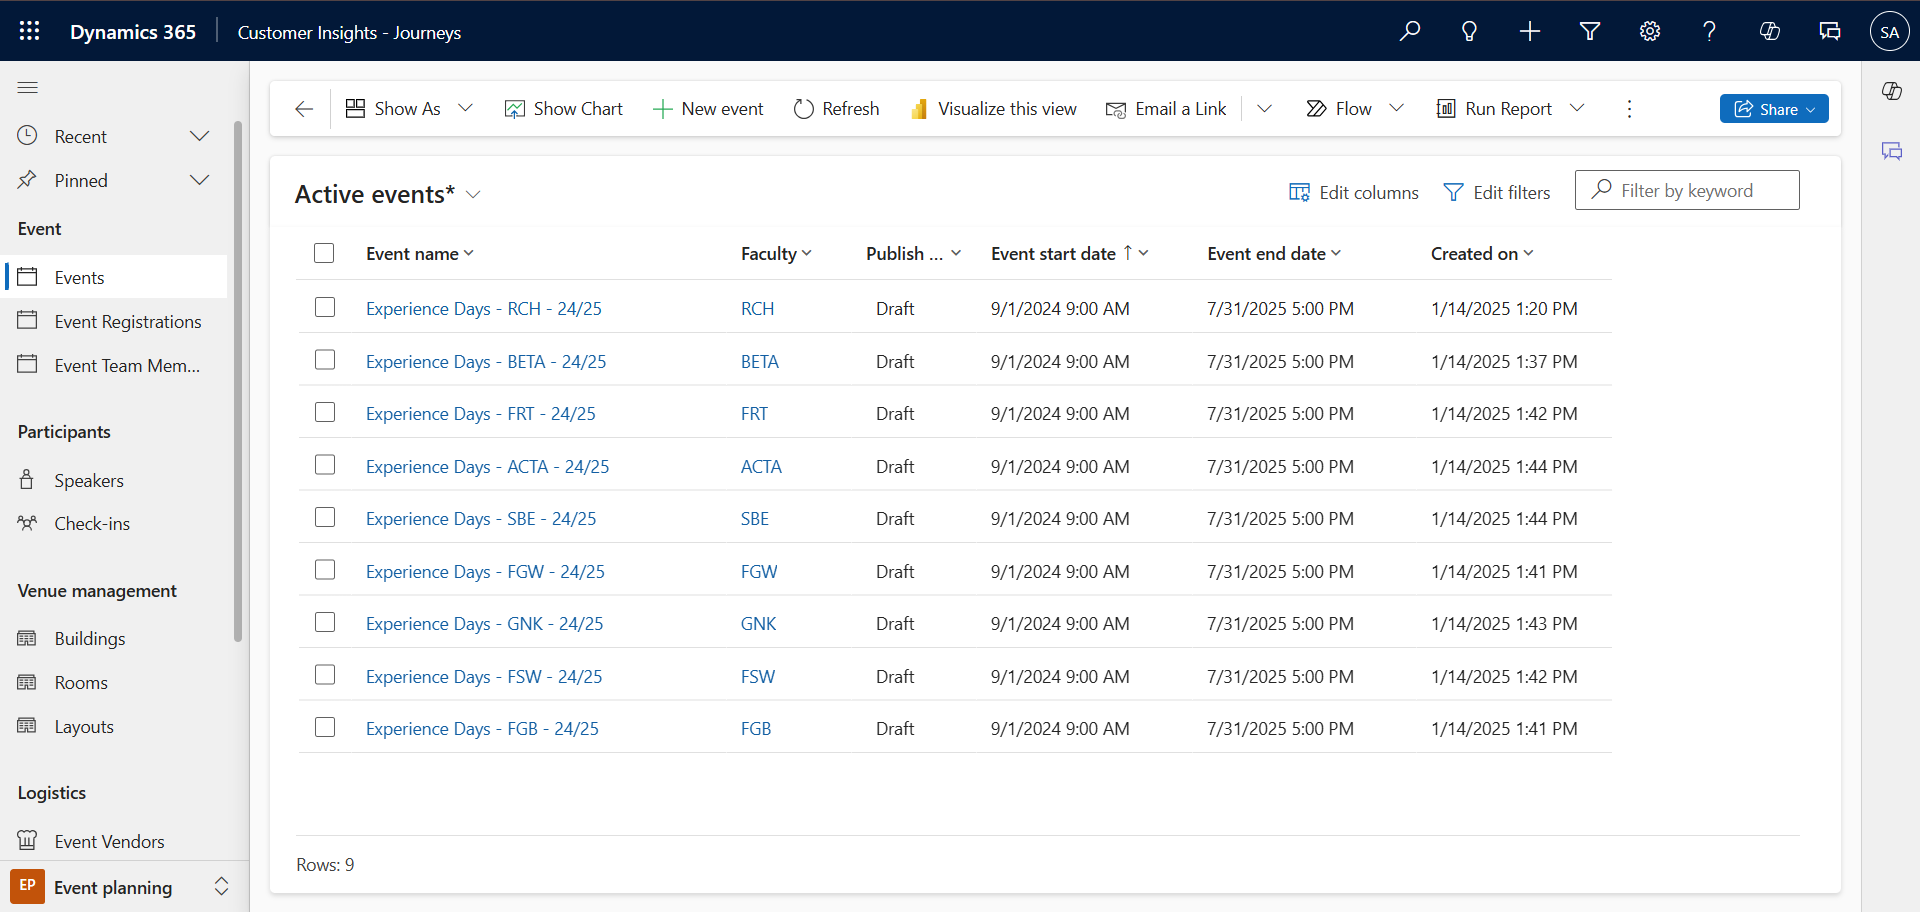
This higher education organization hosts 90 Experience Days across nine faculties during the academic year. The dates for these events are fixed, but not planned for the entire year in advance. These Experience Days may be online or offline. Potential students can register for one of the Experience Days per faculty, so each faculty needs its own registration form. After registration, a confirmation and reminder journey follows. The potential student can see and select one of the available dates. By “available,” we mean:
- The date is in the future.
- The session is not fully booked.
- The session is actually taking place.
Step 1 - Set Up the Event
The first step is to set up the event itself. This higher education organization holds similar events, like Experience Days, so we will create an event for each type per faculty.
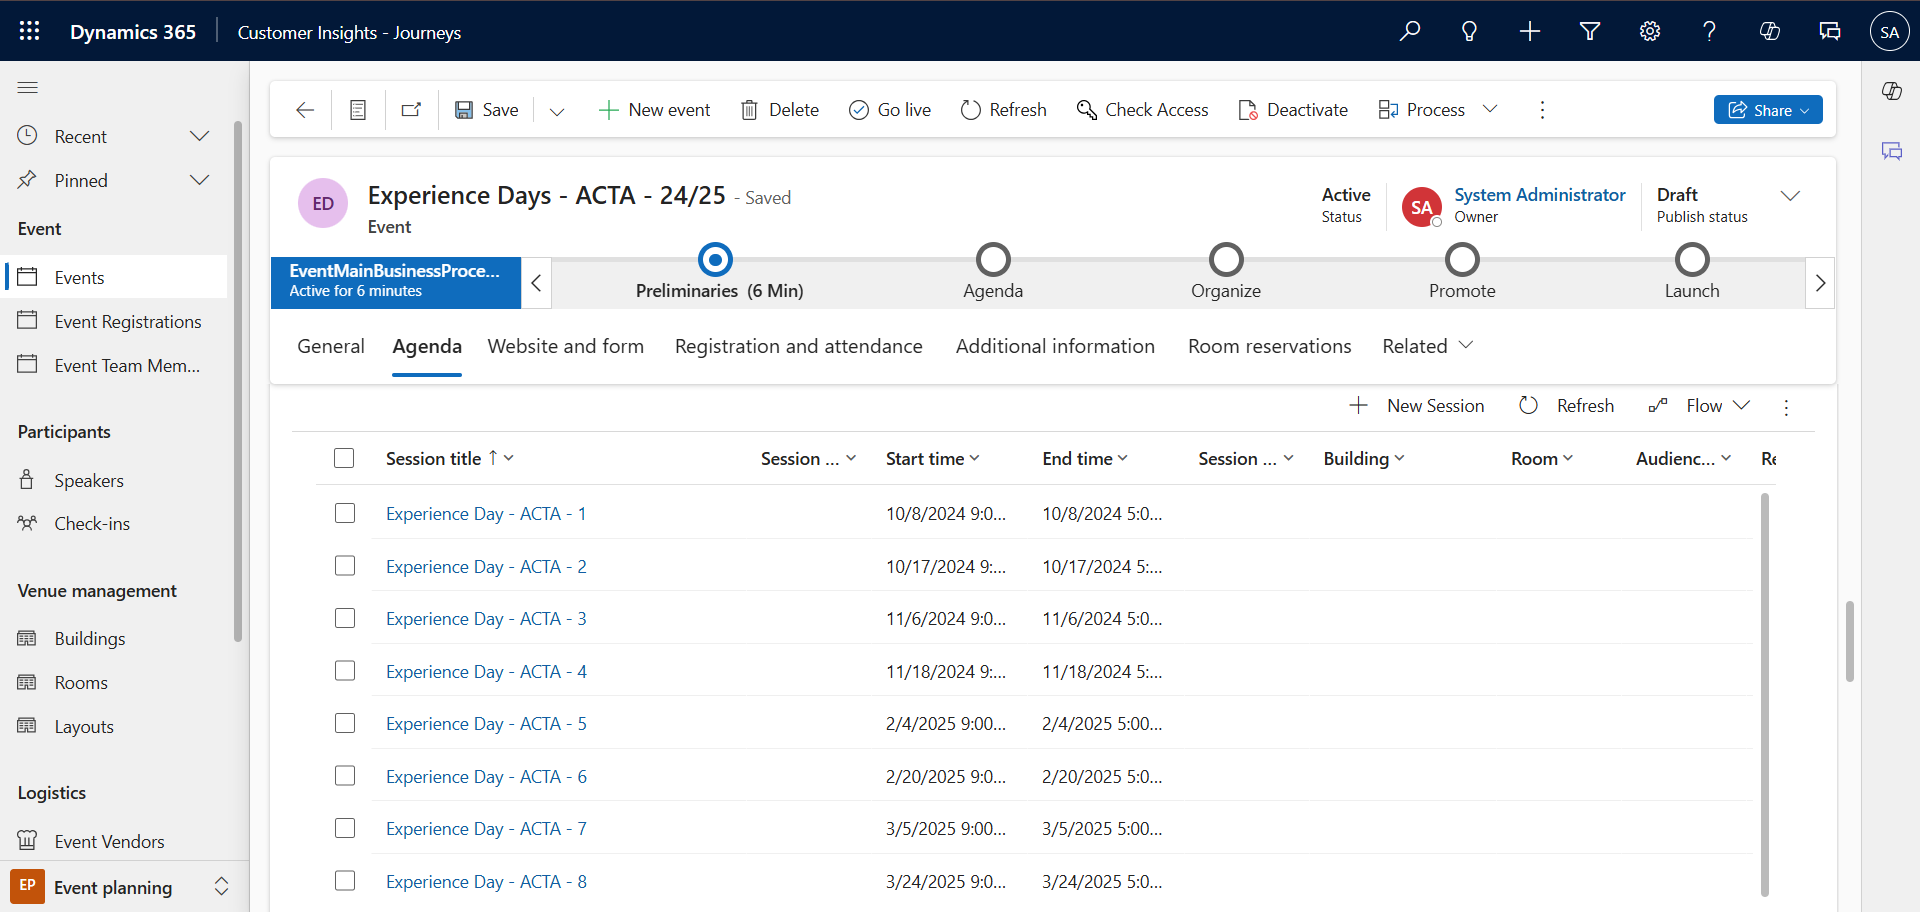
Each Experience Day date within the academic year will have its own sessions. We also added the Session max. capacity field to the session form, which can be filled manually.
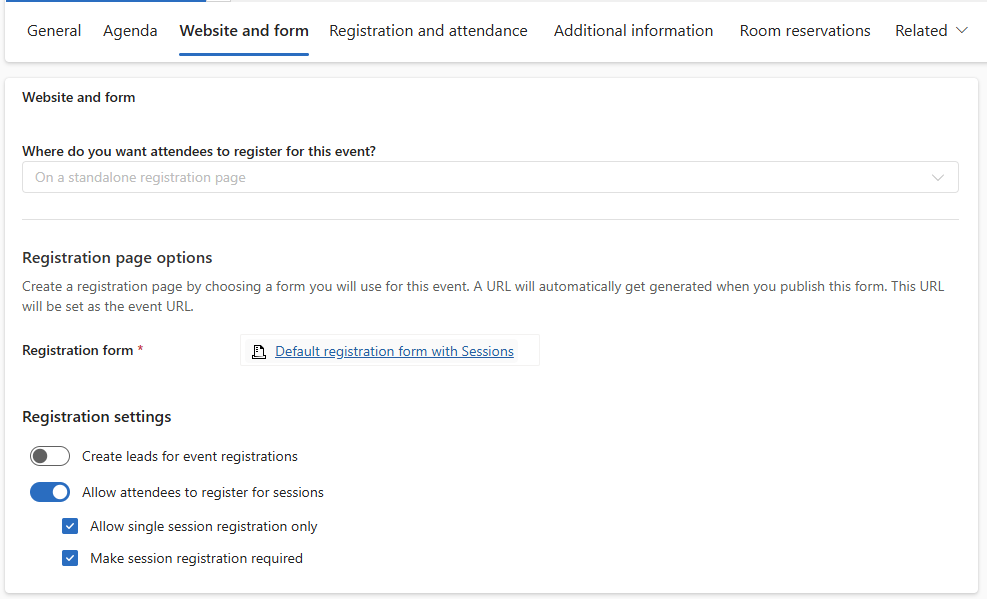
Step 2 - Set the Sessions to Single Select
Go to the Website and form tab on your event and there we find the new fields. Make sure to:
- Set the Allow participants to create their own agenda field to Yes.
- Set the Allow single session registration only field to Yes.
- Set the Make session registration required field to Yes.
Step - Add the New Form to the Event
Publish the event and if we look at the standalone page (or your website), we can see all the available sessions with radio buttons. Participants can and must select only one session.
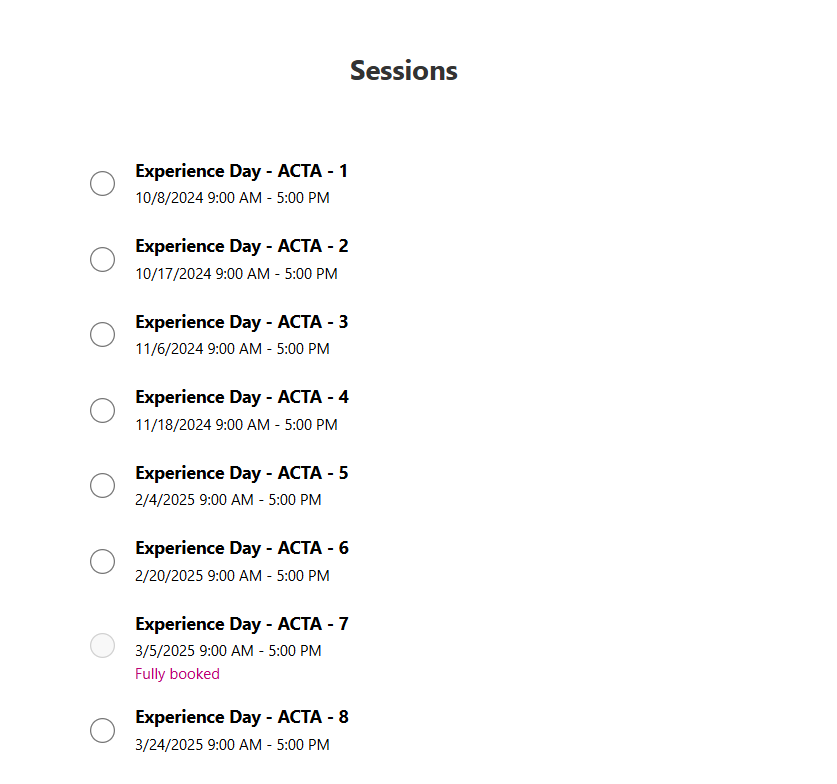
When the submission is completed, it creates an event registration and a session registration for the selected session 🥳.
Step 5 - Optimizations
Here are a few optimizations for the form based on the use case:
- As shown in the image above, sessions that have already taken place are still displayed on the form.
- Sessions that are fully booked have a grayed-out radio button and a purple text beneath them, but they are still visible.
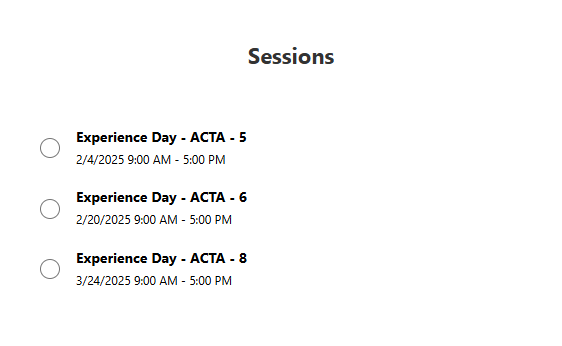
There are several ways to address this, such as using Business Rules, help fields, or Cloud Flows. Choose your preferred method to optimize the customer experience, so your final form will look like this:
Wrap-Up
In scenarios where we organize events with multiple sessions but allow participants to register for only one, we identified the need to update our registration process. Now with the new feautures, we can create these single select session events in no time!